Workflow Designer
1.Get back to Application Designer
Click on  to close the workflow builder and get back to the application builder.
2. Build the Workflow
When creating a new workflow, only the Start phase will be active.
- Drag and drop the Start phase in the available slot.
- Specify the Phase Name and click Create.
- Fill in the Phase Settings details and click Apply, then Close.
When you add the first phase, the phase will be displayed in the Workflow Builder in the related slot and all the remaining phases will become active except for the Archive phase.
The Archive phase will be activated once you add the Completed phase to your workflow.
- Drag and drop the remaining phases according to your Workflow Design in the empty slots.
|
You can Only drop Start Phases in the first drop point. You can add more than one Start, Void, Completed Phases in a workflow. When attempting to add a phase in an invalid drop point, the system highlights the drop point in red. |
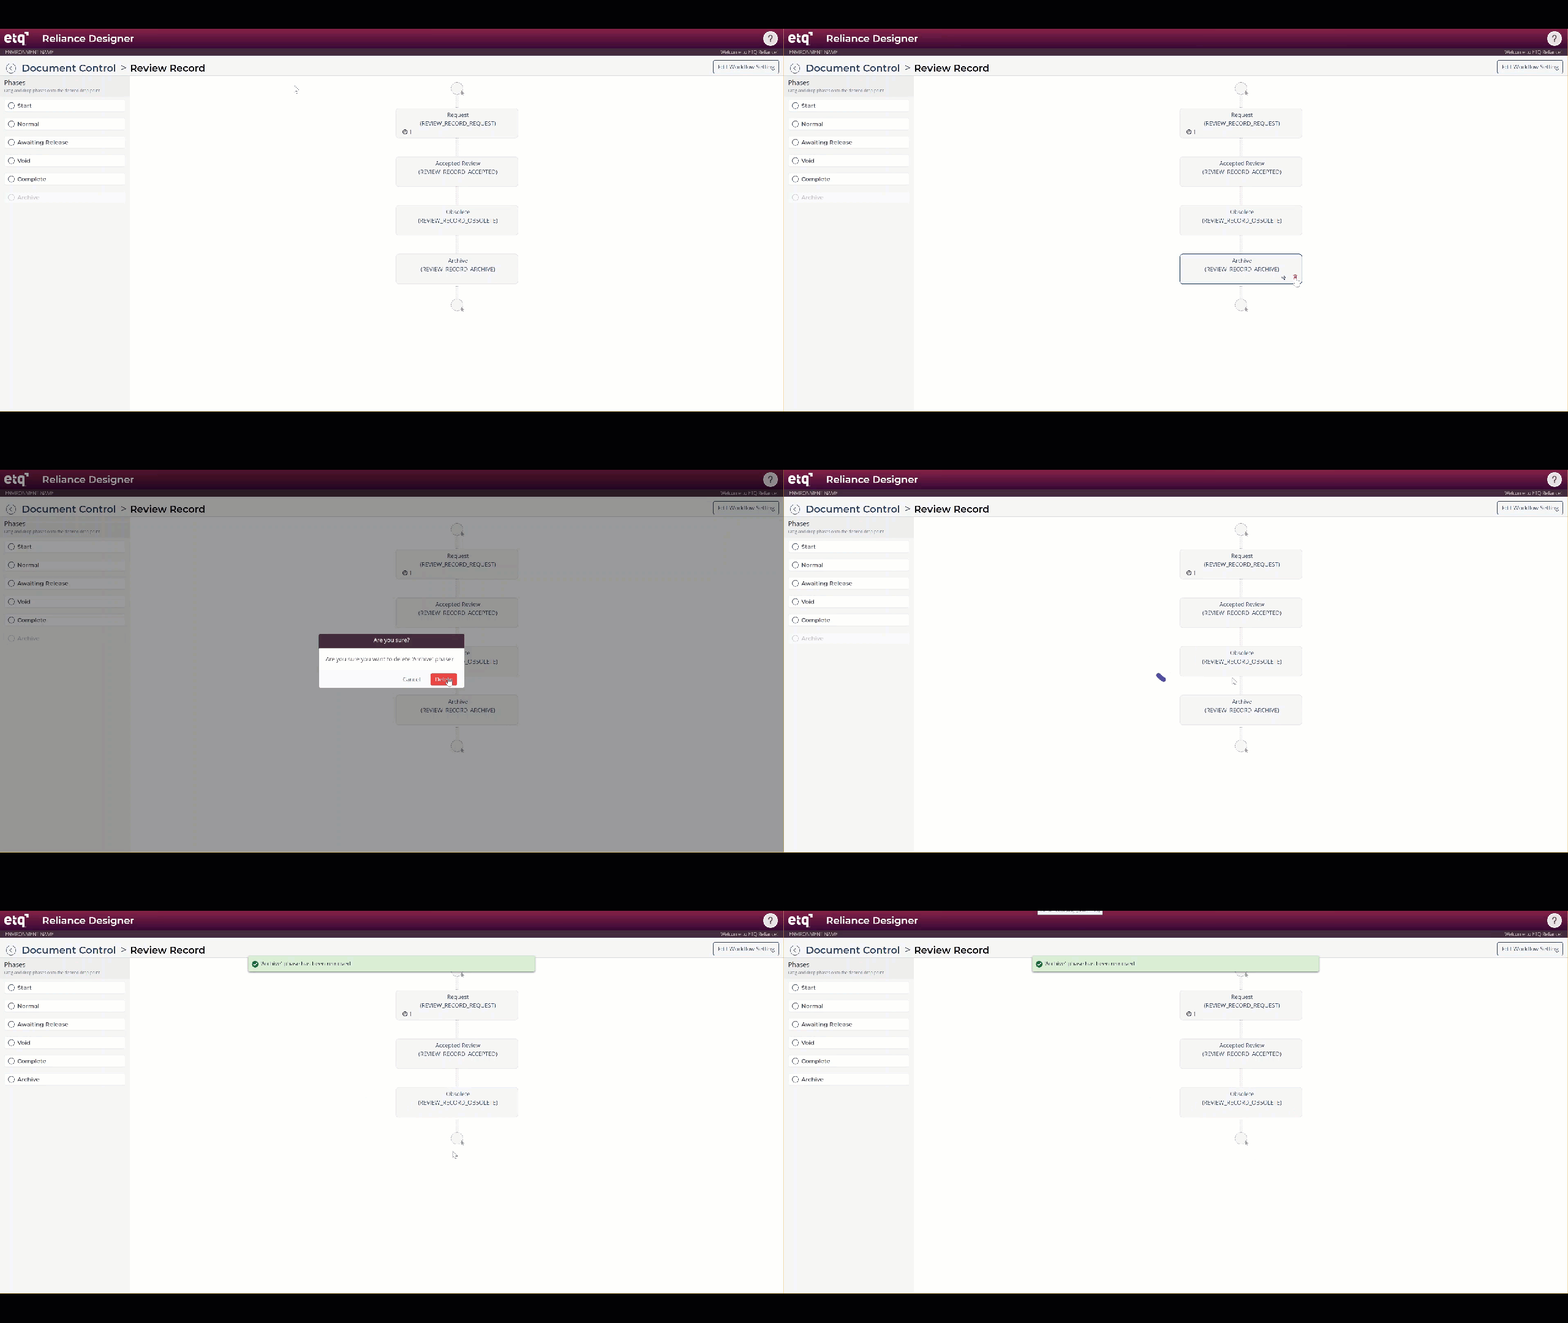
3. Delete Phase
Click on the Delete action displayed when hovering over the added phase.
4. Phase Route Options and Due Date Duration
The Phase Route ( )action is displayed when hovering over the added phase. Clicking this action will show you the routing directions configured for this phase.
If a Due Date Duration is configured for the phase, it will be displayed near the  icon on the phase card.
|
|
|